How to Build a Dinosaur, part 1

Links to the other posts in this series:
Part II
Part III
Part IV
Part V
Part VI
It seems like every year since my thesis year (2008 for those keeping score) I've been able to manage at least one major project. In 2009 I completed my Bozeman Main Street sketchbook. In 2010 I finished the San Antonio panoramic sketchbook. In 2011, I had a solo show at East Central University thanks to my good friend Aaron Hauck, for which I had to build a ton of frames and shadowboxes. But this year I had to do something pretty far outside my comfort zone. I built a dinosaur. Deinonychus, to be precise.
Obviously, I'd never built a dinosaur. In fact, I'd never really done any kind of organic sculpting before outside of grade-school ceramics. So naturally I decided to tackle a life-size, museum-quality dinosaur for my first-ever major sculpture. So where did the idea come from? My boss Xavier texted me with a link to a guy named Ken Forbister who carved a T. rex head out of styrofoam. I think it was more of a "check this out" text, but I immediately responded with a snarky "I can do that." To Xavier's credit he called my bluff and told me to go for it, and I started researching immediately. My initial plan was to see if I could simply have a digital model scaled up using rapid 3D prototyping. I had sculpted a small T. rex on some digital sculpting software a month or so earlier and had it printed in 3D (at a very small scale) by a company called Shapeways.
Well, it turns out doing something large scale from a digital file is super expensive. A full-scale T. rex was out of the question, and Xavier wasn't keen on just doing the head. So we decided I would hand-carve a raptor instead.
Fortunately, it turns out there are a few quality resources on the internet about carving from foam, including one fantastic site from a guy named Rich, who builds just dinosaurs out of foam and fiberglass. Once I had begun and started posting pics, a few other folks on Flickr had some great advice as well.
After marshaling as many resources as I could find, there were still plenty of technical gaps in my plan, but I had figured some improvising was going to be necessary, so I went ahead and jumped in.
I ordered some supplies from Hot Wire Foam Factory, which is not only a great place to find foam sculpting tools, but a great resource for techniques and strategies. Finally, it was time to quit stalling so Linda and I went to Lowe's to buy some blue foam insulation.
Using Foam Fusion glue and acetone-free spray adhesive, I glued a small test block together, then carved it into a round, neck-like shape using an orbital sander and some flexible sanding sponges. It worked pretty well, so I set about gluing a huge stack of foam together to make the torso.

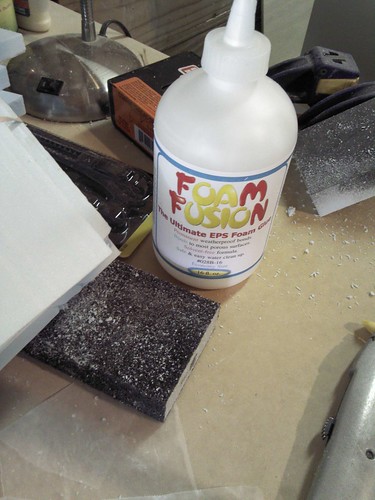
While that was drying I glued together a smaller block that would be the head.
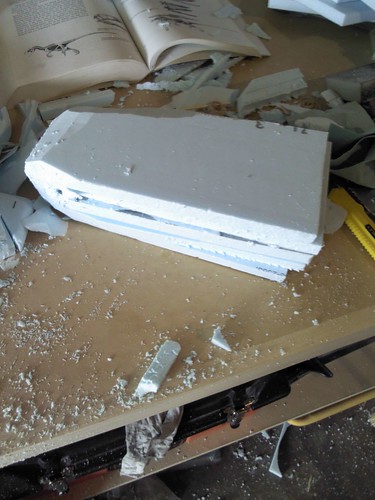
I used measurements from John Ostrom's original paper on Deinonychus and skeletal reconstructions from Gregory Paul's Predatory Dinosaurs of the World as my primary resources.
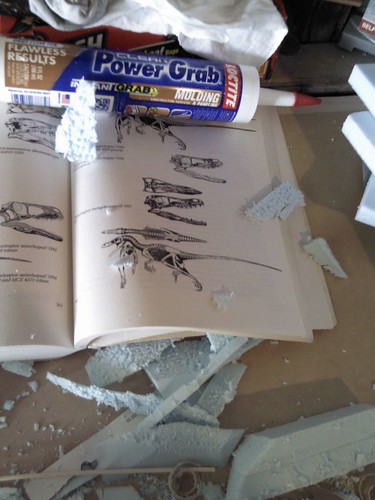
Taking shape:
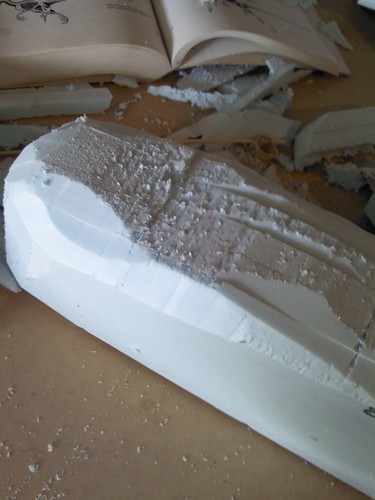
At some point I found it was easier to carve away big chunks with a bread knife and a snap-blade utility knife full extended. A lot less messy than sanding, too.
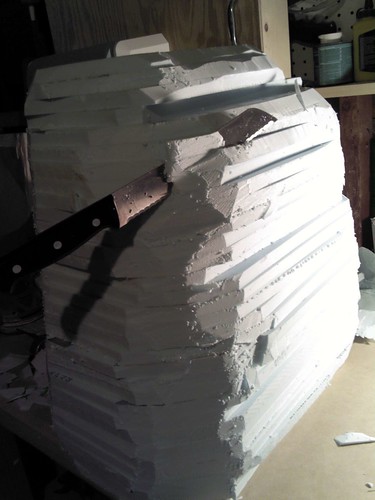
The further I got on the head, the closer to reality the whole project was starting to become.
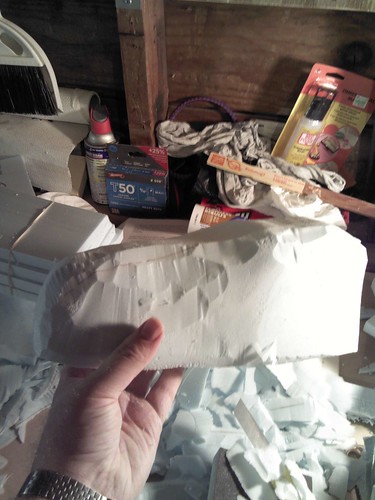
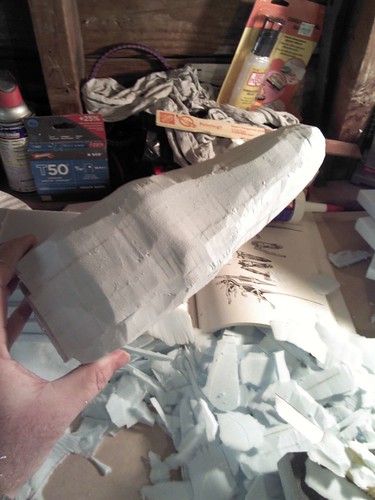

Finally I took my Dremel to it and started to gouge in rough details, and that's when the whole thing seemed like it might actually work.
Check out Part II!
Comments
Post a Comment